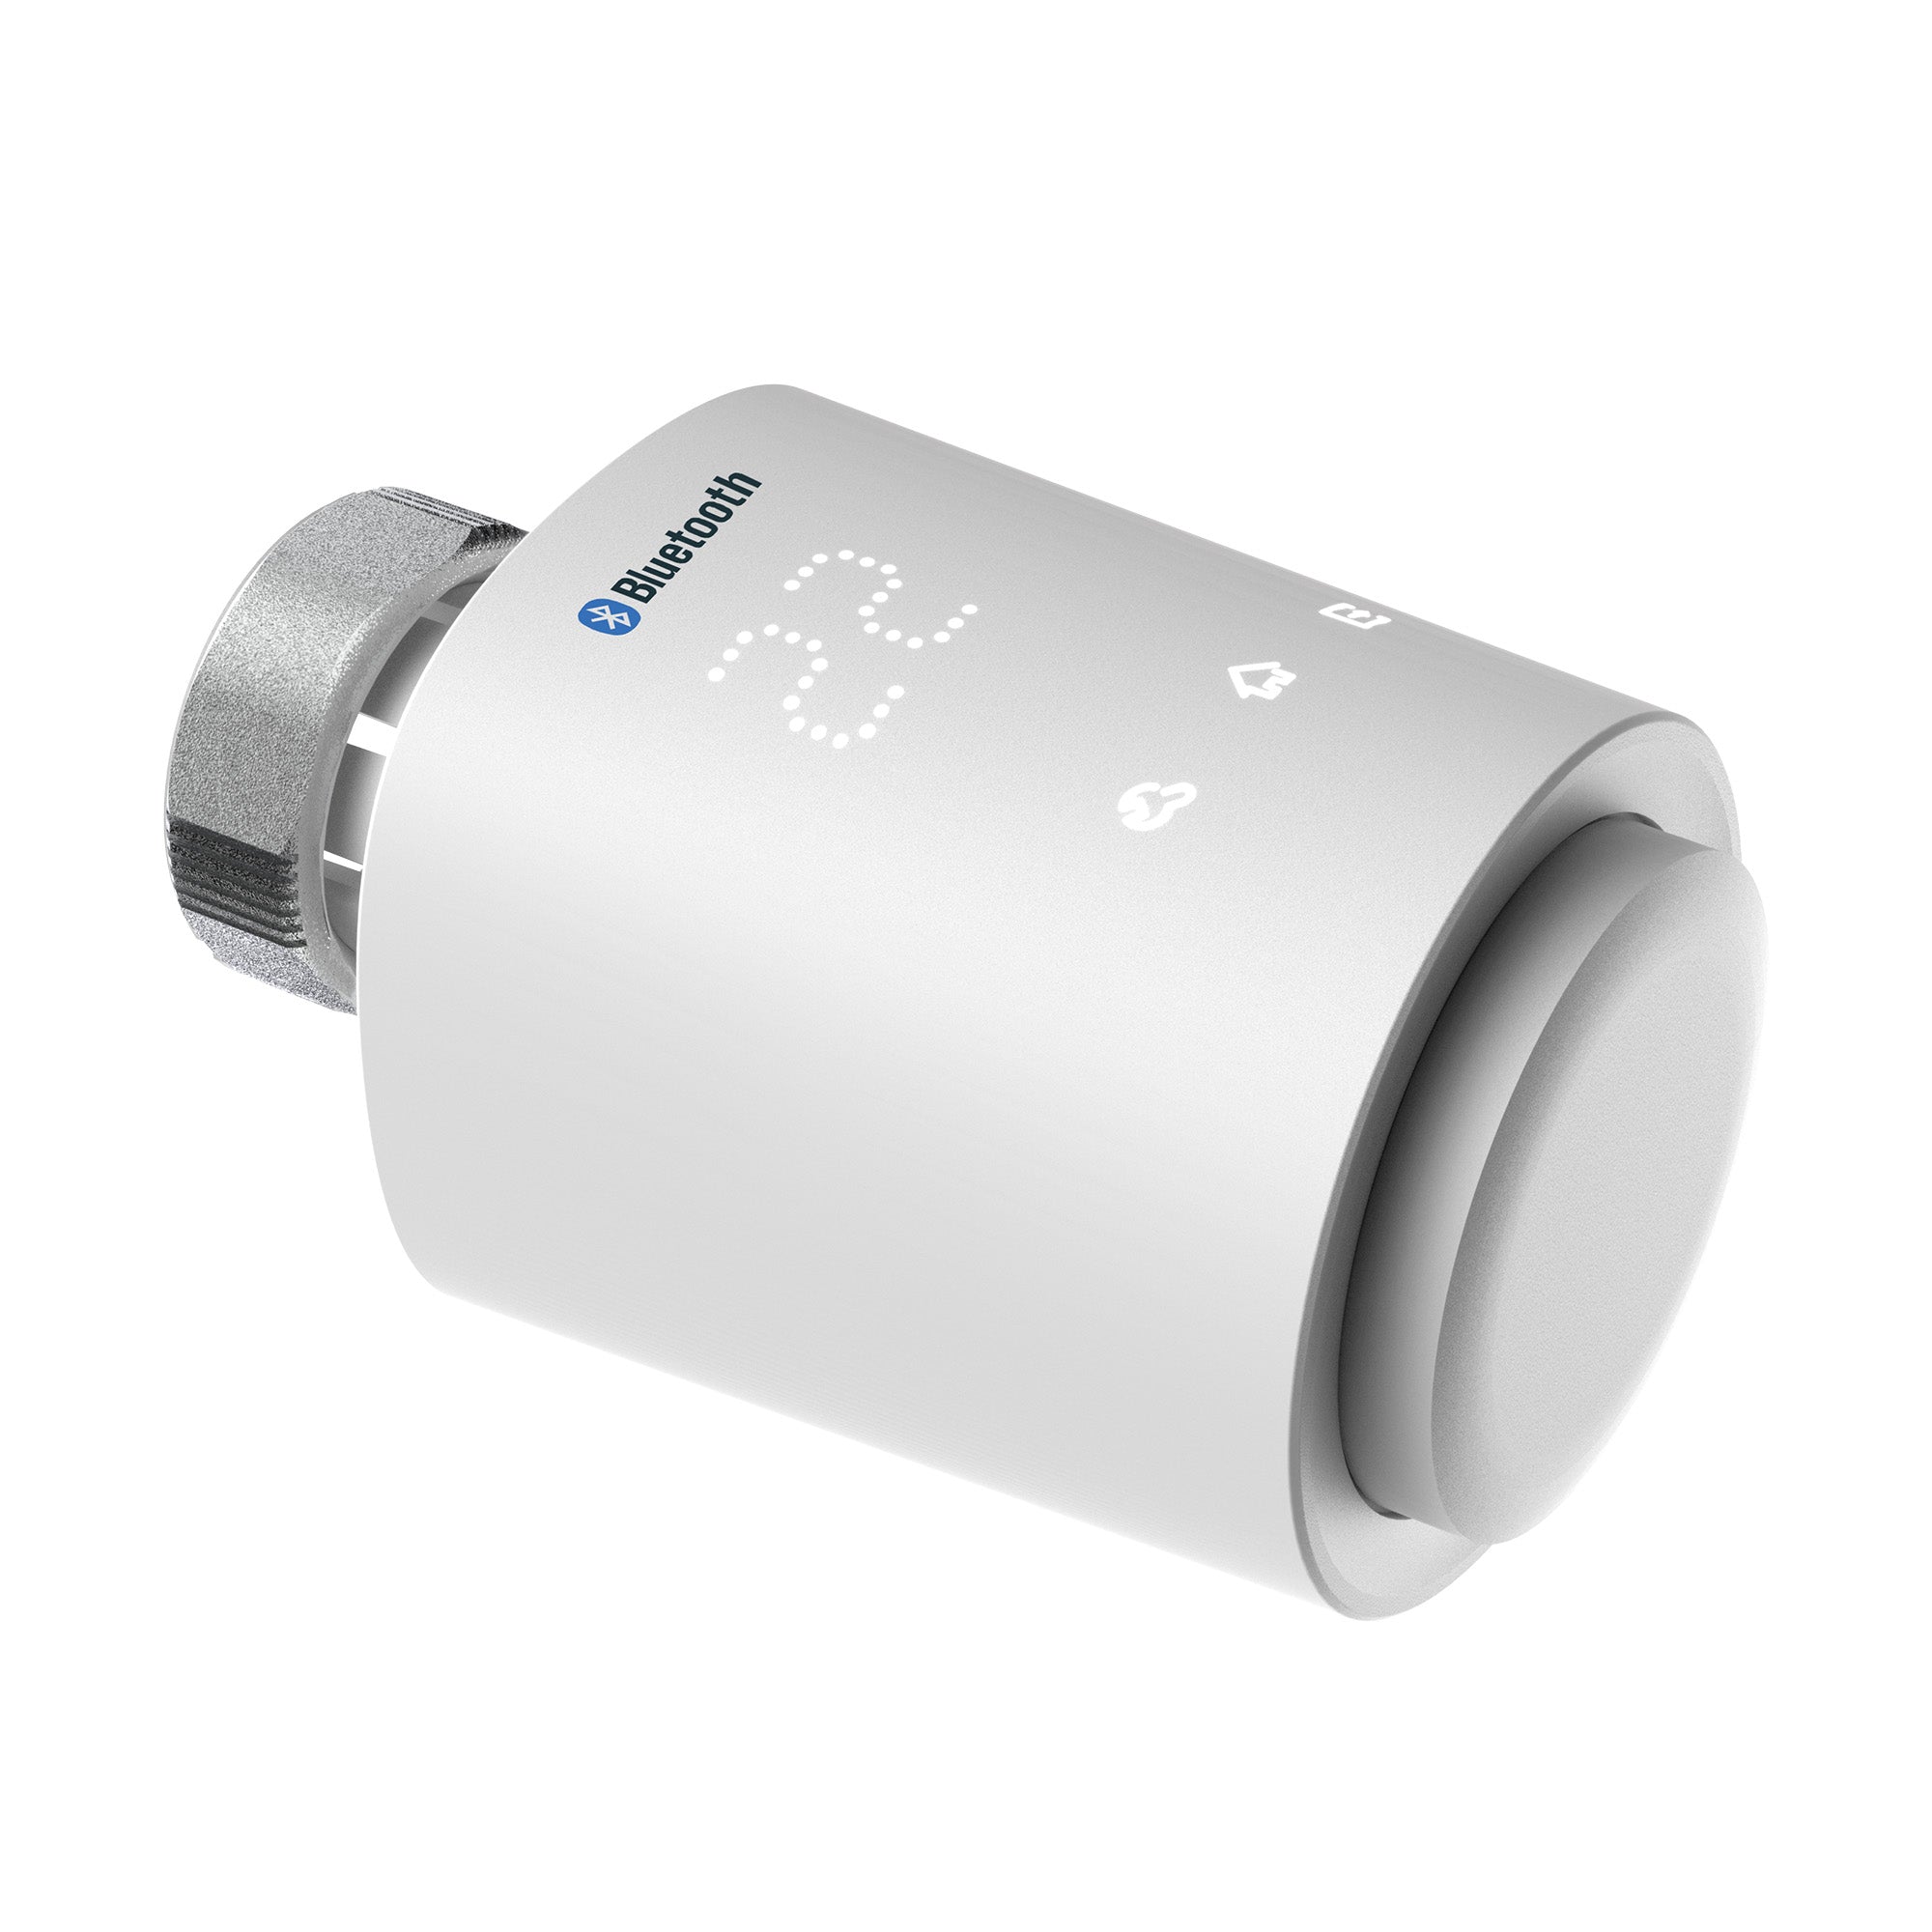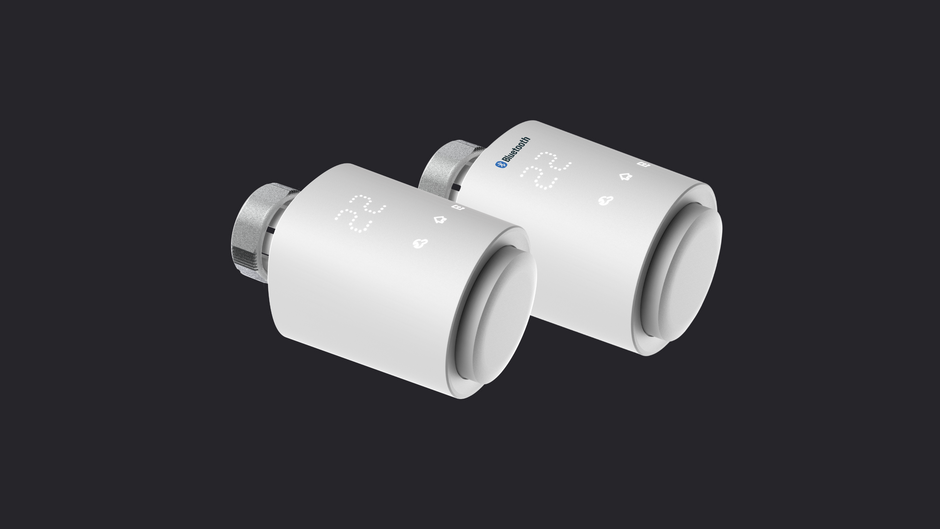


This device can be programmed manually or via app using Bluetooth.
After installation, the thermostat can be individually programmed, either directly on the device or conveniently via app. Both methods are explained here.
1. Setting the date and time ("dAt")
After inserting the batteries, the device automatically starts in installation mode. The display shows "InS" for 2 seconds.
-
Use the rotary knob to set the date and time:
- Year: (2001–2099)
- Month: (1–12)
- Day: (1–31)
- Hours: (0–23)
- Minutes: (0–59)
- Save each entry with the confirmation button to move to the next setting.
- If the device does not automatically switch to installation mode, briefly remove and reinsert the batteries.
Note: Date and time can be adjusted later via the menu or the app.
2. Connecting to the app
The thermostat can be controlled via the Tuya Smart App (iOS/Android).
-
Download the app
- iOS: Search for "Tuya Smart" or "essentials Smart Home" in the App Store.
- Android: Search for "Tuya Smart" or "essentials Smart Home" in the Google Play Store.
- Alternatively, scan the QR code in the manual.
-
Pair the device
- Open the app and select "My Home".
- Tap the "+" at the top right.
- In the "Heating" category, select "Radiator Thermostat Bluetooth".
- Follow the instructions in the app.
- Once the device has been successfully added, it will appear under "My Home" in the app.
Note: Bluetooth must be enabled on the smartphone and the app must be granted access to Bluetooth. The thermostat should be in close proximity during pairing.
3. Setting the weekly program ("PRO" mode)
The weekly program can be configured directly on the device or via the app.
Manual setting on the device
-
Press and hold the Mode button ("G") until "PRO" appears on the display.
-
Select days:
- Individual days
- Weekdays (Mon–Fri)
- Weekend (Sat–Sun)
- Whole week (Mon–Sun)
- → Select with the rotary knob and confirm with the confirmation button.
-
Program temperature phases:
- Select start time (in 15-minute increments)
- Set target temperature for this phase
- Select end time of the phase
- Define next heating phase
- Up to 9 heating phases per day possible
- After 7 set times, programming is automatically completed
Programming via app
- Open the app and select the thermostat.
- Navigate to the weekly schedule.
- Set days and heating phases conveniently using the slider.
- Changes are automatically saved and transferred to the thermostat.
💡 Note: Programs can be adjusted faster via the app than directly on the device.
4. Changing operating modes
The thermostat offers three different operating modes: Automatic, Manual, and Holiday mode.
These can be switched directly on the device or via the app.
-
Automatic mode (no light for B & D)
- Device follows a programmed schedule.
- Temperature can be temporarily changed.
-
Manual mode (D lights up)
- A fixed temperature remains permanently set.
-
Holiday mode (B lights up)
- Temperature remains constant for a specified period.
- Set start and end dates.
Setting via app:
- Select thermostat.
- Change mode (Automatic, Manual, Holiday).
- Changes are sent directly to the device.
5. Setting comfort and energy-saving modes
The thermostat offers two preset temperatures:
- Comfort temperature: Factory setting 21°C
- Energy-saving mode: Factory setting 17°C
Changing values on the device:
- Press and hold the energy-saving/comfort mode button ("E").
- Turn the rotary knob to set the desired temperature.
- Press the confirmation button to save the value.
Changing via app:
- Select thermostat.
- Navigate to temperature control.
- Set desired values for comfort and energy-saving modes.
Note: Changes are effective in both modes (Automatic & Manual).
6. Open window detection ("Aer")
The thermostat detects open windows and automatically lowers the temperature.
- Standard temperature during an open window: 15°C
- Standard duration: 10 minutes
Changing settings:
Manually on the device:
- Open menu (long press "G" until "Aer" appears).
- Set temperature and duration with the rotary knob.
- Press the confirmation button.
Via app:
- Select thermostat in the app.
- Activate open window detection and set desired values.
7. Activating or deactivating Bluetooth ("bLE")
- Open menu (long press "G" until "bLE" appears).
- Use the rotary knob to select "ON" (Bluetooth on) or "OFF" (Bluetooth off).
- Press the confirmation button.
Note: If the app is not used, Bluetooth can be deactivated to save battery life.
8. Offset temperature ("tOF")
Since the thermostat measures the temperature directly at the radiator, there may be deviations from the room temperature .
- To compensate for this, an offset of ±5.5°C can be set.
How to set the offset:
- Open menu (long press "G" until "tOF" appears).
- Use the rotary knob to set the desired offset value (-5.5°C to +5.5°C).
- Press the confirmation button.
Example: If the room reaches 18°C instead of the desired 20°C , an offset of +2.0°C can be set.
9. Restoring factory settings ("rES")
If the thermostat is to be reset to factory settings:
- Open menu (long press "G" until "rES" appears).
- Press the confirmation button → "COnF" will be displayed.
- Press the confirmation button again.
Caution: All individual settings will be lost!
Summary
The essentials Radiator Thermostat MATRIX Bluetooth (SKU: 120196) offers both manual control and app control via Bluetooth.
- Automatic time control via weekly program
- Manual or app control of temperature and mode
- Open window detection and comfort/economy modes
- Optional Bluetooth deactivation to save battery life
The app significantly simplifies operation and allows for flexible heating control.